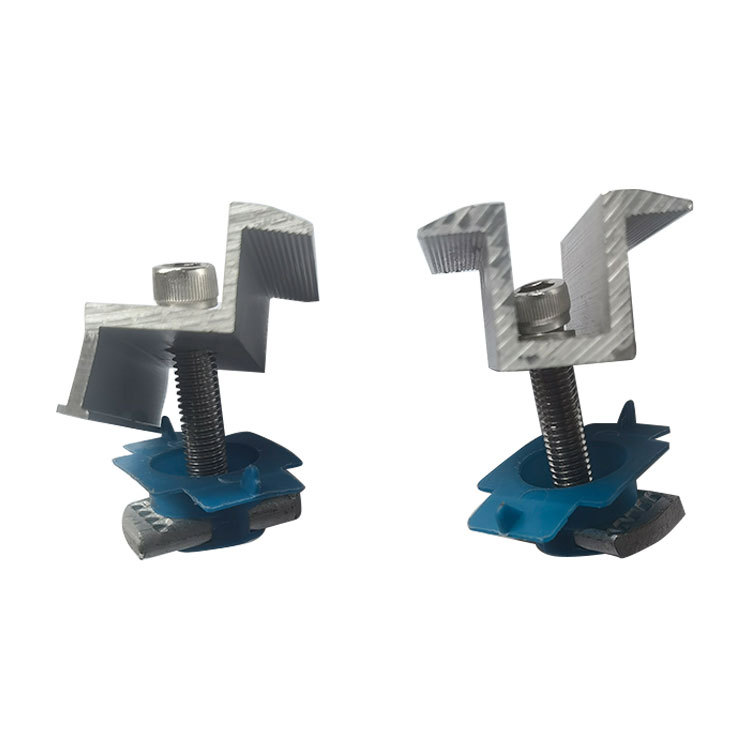

Best Practices for Installing Self-Tapping Screws Efficiently and Effectively
Sep . 23, 2024 22:56 Back to list
Best Practices for Installing Self-Tapping Screws Efficiently and Effectively
Techniques for Effectively Installing Self-Tapping Screws
Self-tapping screws are a favorite among DIY enthusiasts and construction professionals alike due to their ability to create their own thread as they are driven into materials. This makes them particularly useful in a range of applications, from assembling furniture to constructing metal frameworks. However, to maximize their effectiveness and ensure a durable connection, certain techniques should be employed during installation. Here are some essential tips for effectively installing self-tapping screws.
1. Choose the Right Screw Type
Before installation, it's crucial to select the appropriate self-tapping screw for your project. Self-tapping screws come in various styles, such as hex head, pan head, and flat head, each designed for different materials and purposes. For instance, choose metal screws for metal sheeting and wood screws for wood applications. Additionally, consider the screw length and diameter to ensure a secure fit in your materials.
2. Pre-Drilling for Precision
While self-tapping screws are designed to create their own holes, pre-drilling can significantly enhance the installation process, especially in harder materials. Using a drill bit that is slightly smaller than the screw shaft can help guide the screw and reduce the risk of splitting or damaging the substrate. This step is particularly important when working with hardwood or dense metal, as these materials may resist the screw insertion.
3. Make Use of Appropriate Tools
Utilizing the right tools can significantly affect the efficiency of your installation. A power drill with an adjustable torque setting is ideal for driving in self-tapping screws, as it allows for controlled insertion without stripping the screw head. Additionally, employing a bit that matches the screw head type (Phillips, flat, etc.) will ensure a secure grip and prevent slipping during installation.
4. Maintain Consistent Pressure
techniques for effectively installing self-tapping screws into

When driving in self-tapping screws, maintaining consistent pressure is vital. Start with a slow speed to ensure the screw engages the material properly before increasing the speed. This technique minimizes the risk of damaging the screw head or the material. Applying steady pressure also helps prevent the screw from wandering off its desired path, ensuring better alignment.
5. Monitor Depth and Angle
The depth and angle at which screws are installed can greatly impact the strength of the joint. It's essential to ensure that screws are driven straight and to the recommended depth—typically flush with the surface—without being over-driven, which can weaken the hold. Using a depth stop on your drill can help achieve consistent depth across multiple screws.
6. Use Lubrication When Necessary
In certain situations, especially when working with tough materials, adding a lubricant such as soap or cutting oil can ease the screw's entry. This reduces friction and helps prevent the screw from breaking during installation. However, this should be done sparingly, as too much lubricant can interfere with the adhesive properties of any adhesives or coatings applied afterward.
7. Inspect Your Work
After installation, inspect each screw for proper depth and alignment. Ensure that screws are securely anchored and that there are no signs of stripping or damage. This final check can save time and resources by identifying issues before they escalate.
Conclusion
Effectively installing self-tapping screws requires attention to detail, the right materials, and strategic techniques. By choosing the proper screw type, utilizing the right tools, and following best practices for driving and aligning the screws, you can achieve strong and reliable joints that will stand the test of time. Whether you're engaging in DIY projects or professional construction, mastering these techniques will enhance your installation skills and contribute to the quality of your work.
Latest news
-
Hot Dip Galvanized Bolts-About LongZe|High Strength, Corrosion Resistance
NewsJul.30,2025
-
High-Strength Hot Dip Galvanized Bolts - Hebei Longze | Corrosion Resistance, Customization
NewsJul.30,2025
-
Hot Dip Galvanized Bolts-Hebei Longze|Corrosion Resistance&High Strength
NewsJul.30,2025
-
High-Strength Hot-Dip Galvanized Bolts-Hebei Longze|Corrosion Resistance&High Strength
NewsJul.30,2025
-
Hot Dip Galvanized Bolts-Hebei Longze|Corrosion Resistance&High Strength
NewsJul.30,2025
-
Hot Dip Galvanized Bolts - Hebei Longze | Corrosion Resistance, High Strength
NewsJul.30,2025

