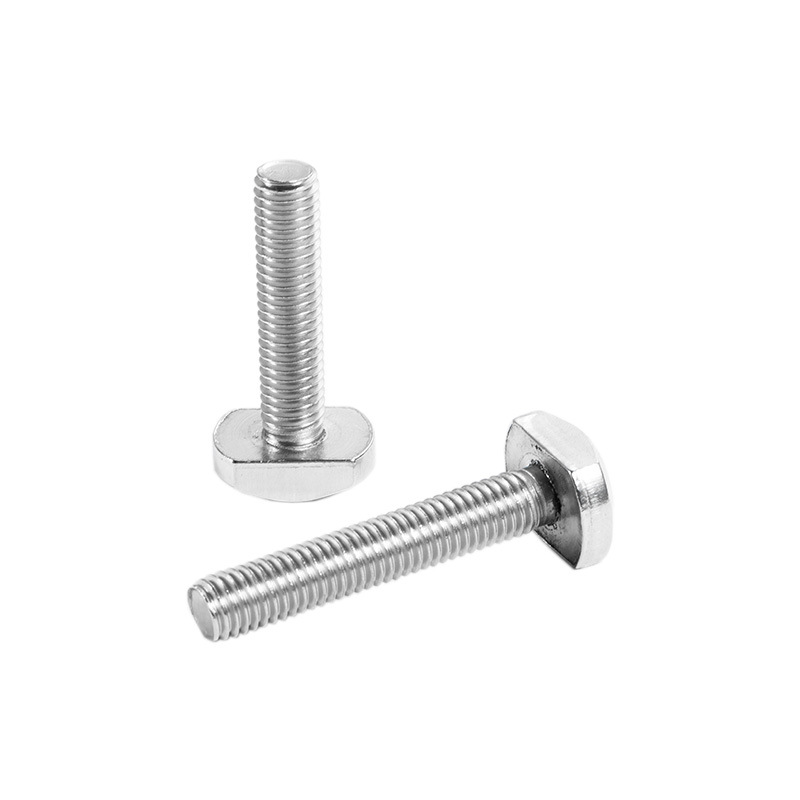

self tapping screws into brick
Oct . 11, 2024 08:46 Back to list
self tapping screws into brick
Installing Self-Tapping Screws into Brick A Comprehensive Guide
When it comes to securing objects to brick surfaces, self-tapping screws present a convenient and effective solution. Unlike traditional screws that require pre-drilled holes, self-tapping screws can create their own threads as they are driven into the material. This capability not only saves time but also ensures a snug fit, which is critical when installing fixtures, brackets, or other hardware onto a brick wall. This article provides a step-by-step guide on how to properly install self-tapping screws into brick to ensure a secure and lasting hold.
Understanding Self-Tapping Screws
Self-tapping screws feature a sharp, pointy end that enables them to cut through materials, making them ideal for use in brick and masonry applications. The threads on these screws are designed to grip tightly into the material they are being installed in, reducing the risk of loosening over time. It is essential to choose the right type and size of self-tapping screw based on the weight of the object you plan to mount and the specific type of brick you are working with.
Tools and Materials Needed
Before you get started, gather the following tools and materials
- Self-tapping screws (appropriate size) - A power drill with a masonry bit - Hammer (for masonry anchors, if needed) - Screwdriver or drill bit attachment for driving screws - A tachometer (optional, to ensure the right torque) - Safety goggles and dust mask
Step-by-Step Installation Guide
1. Selection of Screws Choose self-tapping screws that are suitable for masonry work. Stainless steel or coated screws offer better resistance to rust and corrosion, which is important for outdoor applications. Ensure the length of the screws is adequate for both the fixture and the brick.
2. Marking the Installation Points Using a pencil or marker, clearly mark where you want to place your screws. A level can help ensure that your markings are even, especially if you're installing multiple fixtures.
self tapping screws into brick

3. Drilling Pilot Holes (if necessary) Although self-tapping screws can drill into brick, using a masonry drill bit to create pilot holes can help ensure better alignment and prevent the brick from cracking. Drill at a depth that matches the length of your screws.
4. Cleaning the Area After drilling, vacuum or brush away any dust and debris from the hole. This helps create a cleaner environment for the screws to create a snug fit.
5. Driving the Screws Insert the self-tapping screw into the drilled hole. Using a power drill or a screwdriver, begin driving the screw into the brick. If you encounter resistance, don’t force it; instead, gently back out the screw and reinsert it to clear any blockages.
6. Ensuring the Right Torque If you have a torque setting on your drill, use it to ensure that you do not overtighten the screws. Over-tightening can lead to cracking in the brick or stripping the screw threads. The goal is to secure the screw firmly without damaging the material.
7. Checking Your Work Once all screws are in place, check to ensure that they are tight and that the fixture or hardware is secure. If any screws feel loose, consider adding expansion anchors or wall plugs for additional support.
Tips for Success
- Use the Right Drill Bit Masonry drill bits are specifically designed to create clean holes in brick; using the correct type of bit will make the installation much smoother. - Wear Protective Gear Brick dust can be harmful if inhaled, and flying debris can cause eye injuries. Always wear safety goggles and a mask. - Consider Wall Thickness If you're working with very thick bricks, you may need longer screws or additional anchors to ensure a secure installation.
Conclusion
Installing self-tapping screws into brick can be straightforward if you follow the proper steps. With the right tools and techniques, you can effectively mount shelves, hang artwork, or secure brackets without compromising the integrity of the brick. Remember to always prioritize safety and take your time ensuring that each screw is properly placed for the best results. Happy DIY-ing!
Latest news
-
High-Strength Hot-Dip Galvanized Bolts-Hebei Longze|Corrosion Resistance&High Strength
NewsJul.30,2025
-
Hot Dip Galvanized Bolts-Hebei Longze|Corrosion Resistance&High Strength
NewsJul.30,2025
-
Hot Dip Galvanized Bolts - Hebei Longze | Corrosion Resistance, High Strength
NewsJul.30,2025
-
High-Strength Hot Dip Galvanized Bolts-Hebei Longze|Corrosion Resistance, Grade 8.8
NewsJul.30,2025
-
Hot Dip Galvanized Bolts-Hebei Longze|Corrosion Resistance,High Strength
NewsJul.29,2025
-
High-Strength Hot Dip Galvanized Bolts - Hebei Longze Metal Products Manufacturing Co., Ltd.|corrosion resistance&high strength
NewsJul.29,2025

