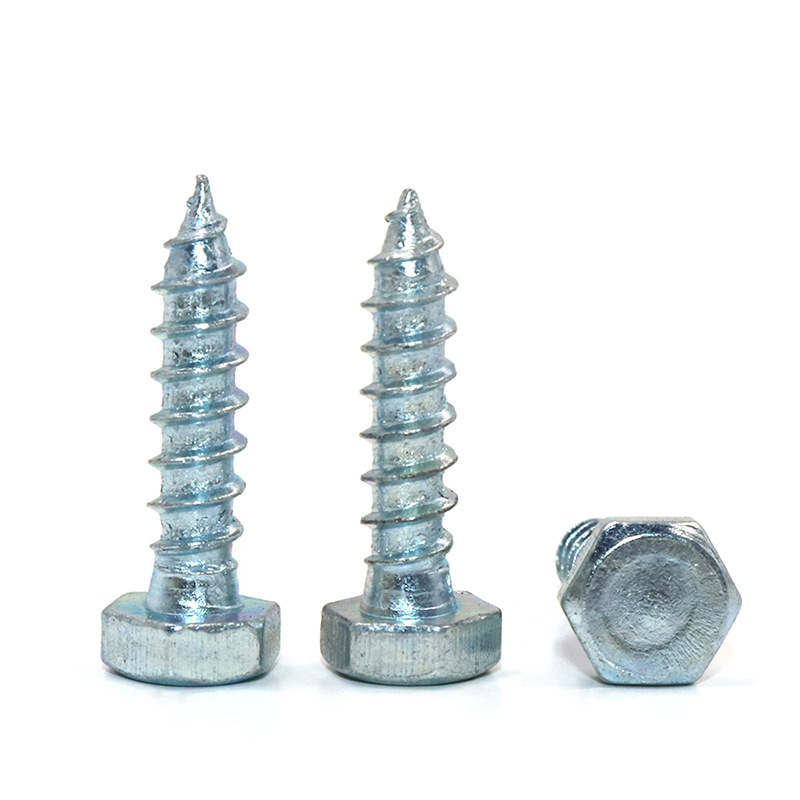

Best Practices for Efficient Self-Tapping Screw Installation
Aug . 17, 2024 17:05 Back to list
Best Practices for Efficient Self-Tapping Screw Installation
Techniques for Effectively Installing Self-Tapping Screws
Self-tapping screws are a popular choice for a variety of construction and DIY projects due to their ability to create their own holes as they are driven into materials. This results in a faster and more efficient installation process compared to traditional screws, which require pilot holes. However, to achieve optimal results and ensure structural integrity, it's important to follow certain techniques when installing self-tapping screws.
1. Choosing the Right Type of Self-Tapping Screw
The first step in effectively installing self-tapping screws is selecting the appropriate type for your specific application. There are several types available, including thread-forming screws and thread-cutting screws. Thread-forming screws are designed for softer materials like plastic or aluminum, as they form threads without removing material. In contrast, thread-cutting screws are more suitable for harder materials like steel; they cut threads as they are driven in. Consider the material and thickness you are working with to ensure you choose the right screw.
2. Preparing the Material
Preparation of the material is critical for a successful installation. Make sure the surfaces you are screwing into are clean, free of debris, and dry. Any dirt or moisture can compromise the quality of the installation, leading to reduced holding strength. Additionally, for thicker materials, it’s advisable to create a pilot hole to guide the screw and prevent cracking or splitting, even if the screw is self-tapping. This is particularly important when working with wood or other brittle materials.
Using the right tools is essential. A high-quality drill or screwdriver with the appropriate tip is necessary for driving self-tapping screws efficiently. Using the incorrect size or type can lead to stripping of the screw head or damage to the surrounding material. If you are using an electric drill, ensure it has adjustable torque settings to prevent over-torquing, which can strip the screw or damage the material.
techniques for effectively installing self-tapping screws into

4. Angle and Technique
When installing the screw, angle and technique are important. Position the screw at a right angle to the surface for a straight drive and to ensure even pressure throughout the process. Start the screw at a low speed to help it enter the material smoothly. As it begins to grip, gradually increase the speed, but remain cautious—over-torquing can lead to a stripped head or a broken screw.
5. Depth Control
Depth control is crucial in ensuring the screw is installed properly without going too deep. Many self-tapping screws have built-in depth stops, which can be helpful for consistent installation. Alternatively, if using a drill, be mindful of the depth to avoid annoying protrusions that can compromise aesthetics or functionality. An accurate flush installation helps maintain a clean appearance and reduces the risk of snagging or catching on other materials.
6. Testing and Final Inspection
After installation, it’s wise to inspect each screw to ensure it is secure. This can be done by lightly tugging on the material or performing the intended function to test stability. Remember to check for any signs of loosening over time, especially in applications subject to vibration or movement. Regular maintenance can prevent potential issues down the line.
Conclusion
Installing self-tapping screws effectively requires choosing the right type, preparing the material, using the appropriate tools, and following correct techniques for driving the screws. With proper care and attention, you can ensure a durable and reliable installation that meets the demands of your project. Whether in construction, automotive applications, or home improvement tasks, mastering these techniques will enhance your skills and lead to successful outcomes in your projects.
Latest news
-
Hot Dip Galvanized Bolts-About LongZe|High Strength, Corrosion Resistance
NewsJul.30,2025
-
High-Strength Hot Dip Galvanized Bolts - Hebei Longze | Corrosion Resistance, Customization
NewsJul.30,2025
-
Hot Dip Galvanized Bolts-Hebei Longze|Corrosion Resistance&High Strength
NewsJul.30,2025
-
High-Strength Hot-Dip Galvanized Bolts-Hebei Longze|Corrosion Resistance&High Strength
NewsJul.30,2025
-
Hot Dip Galvanized Bolts-Hebei Longze|Corrosion Resistance&High Strength
NewsJul.30,2025
-
Hot Dip Galvanized Bolts - Hebei Longze | Corrosion Resistance, High Strength
NewsJul.30,2025

