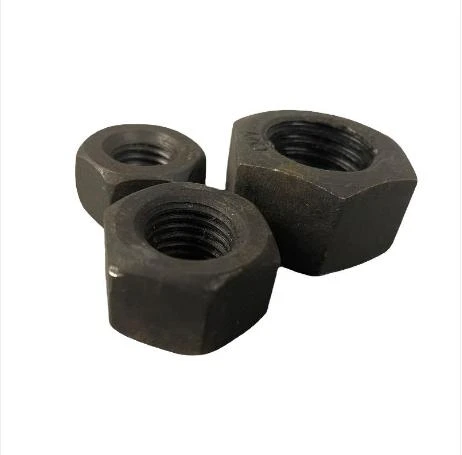

techniques for effectively installing self-tapping screws into
10月 . 19, 2024 07:14 Back to list
techniques for effectively installing self-tapping screws into
Techniques for Effectively Installing Self-Tapping Screws
Self-tapping screws are a staple in construction and DIY projects, prized for their ability to create their own threads as they penetrate materials. This eliminates the need for pre-drilling, saving time and effort. However, to ensure the best performance and longevity of the fastener, it's important to follow effective installation techniques. Here’s a comprehensive guide on how to properly install self-tapping screws.
Understanding Self-Tapping Screws
Before diving into installation techniques, it's essential to understand what self-tapping screws are. These screws typically have a sharp point and threads that extend the length of the screw shaft. As they are driven into the material, the threads cut into the substrate, forming a secure hold. They are available in various materials, sizes, and thread designs, making them suitable for different applications like metal, wood, and plastic.
Preparing the Materials
1. Choose the Right Screw The first step is selecting the appropriate self-tapping screw for your project. Consider the material you will be working with, the weight and stress on the joint, and environmental factors like moisture, which might necessitate a corrosion-resistant screw.
2. Ensure Clean and Dry Surfaces Before installation, make sure the surfaces to be joined are clean and dry. Dirt, dust, or moisture can prevent a proper seal and affect the screw's grip. For metal surfaces, it may be beneficial to use a wire brush to remove any rust or debris.
3. Mark the Location Use a pencil or marker to mark where the screw will be installed. This helps to maintain accuracy and prevents any misalignment during the installation.
Installation Techniques
1. Use the Right Tool A power drill or screwdriver is often the best choice for driving self-tapping screws, as it provides the necessary torque and speed. Ensure that the drill is set to the correct torque setting to prevent stripping the screw or damaging the material.
2. Angle the Drill Correctly Hold the drill or screwdriver at a 90-degree angle to the surface for the most effective driving. This helps to ensure that the screw enters straight, which improves its holding power.
techniques for effectively installing self-tapping screws into

3. Start Slowly When initiating the screw into the material, start at a lower speed to allow the screw tip to establish itself in the material. Once you feel resistance, gradually increase the speed. This controlled approach minimizes risks such as breaking the screw or damaging the surface.
4. Apply Steady Pressure As you drive the screw, apply consistent and even pressure. Avoid excessive force, as this can cause the screw to strip, especially in softer materials. If resistance is felt, stop and reassess; the screw might require slightly different handling or pre-drilling.
5. Avoid Over Driving Self-tapping screws should not be sunk too deeply into the material. Over-driving can strip the hole inside the substrate or cause the head of the screw to break off. Leave just enough space to ensure a tight fit without compromising the integrity of the material.
Post-Installation Considerations
After the screws are installed, it's important to assess the connection's integrity. Check to ensure that the screws are snug and that there are no visible gaps between the materials. In some cases, using washers can help distribute the load and prevent damage to the surfaces.
Tips for Success
- Pilot Holes for Hard Materials While self-tapping screws are designed to drive without pre-drilling, extremely hard materials might benefit from a small pilot hole to guide the screw. This can prevent the screw from breaking or bending. - Use Lubricants In some cases, applying a lubricant to the screw can help reduce friction, making installation smoother and easier.
- Regular Maintenance Regularly inspect installed screws in high-stress or outdoor environments to check for loosening or corrosion and replace them as necessary.
Conclusion
Installing self-tapping screws can be a simple yet effective way to secure materials together. By following the right techniques, you can ensure a strong and durable connection that will last. Whether you're working on a large construction project or a small DIY task, mastering the installation of self-tapping screws is an invaluable skill that enhances both efficiency and quality in your work.
Latest news
-
Hot Dip Galvanized Bolts-About LongZe|High Strength, Corrosion Resistance
NewsJul.30,2025
-
High-Strength Hot Dip Galvanized Bolts - Hebei Longze | Corrosion Resistance, Customization
NewsJul.30,2025
-
Hot Dip Galvanized Bolts-Hebei Longze|Corrosion Resistance&High Strength
NewsJul.30,2025
-
High-Strength Hot-Dip Galvanized Bolts-Hebei Longze|Corrosion Resistance&High Strength
NewsJul.30,2025
-
Hot Dip Galvanized Bolts-Hebei Longze|Corrosion Resistance&High Strength
NewsJul.30,2025
-
Hot Dip Galvanized Bolts - Hebei Longze | Corrosion Resistance, High Strength
NewsJul.30,2025

