
Optimizing Washer Sizes from 3 and 4 to 1 and 2 for Enhanced Efficiency and Performance
अगस्त . 12, 2024 09:02 Back to list
Optimizing Washer Sizes from 3 and 4 to 1 and 2 for Enhanced Efficiency and Performance
Reducing Washer from 3/4 to 1/2 A Comprehensive Guide
In various mechanical and plumbing applications, washers play a critical role in ensuring a perfect seal between components. When dealing with different sizes and types of fittings, it's often necessary to use a reducing washer to facilitate a connection between dissimilar sizes. This article will focus on the process and significance of reducing a washer from 3/4 inch to 1/2 inch, exploring its applications, types, and practical benefits.
Understanding Reducing Washers
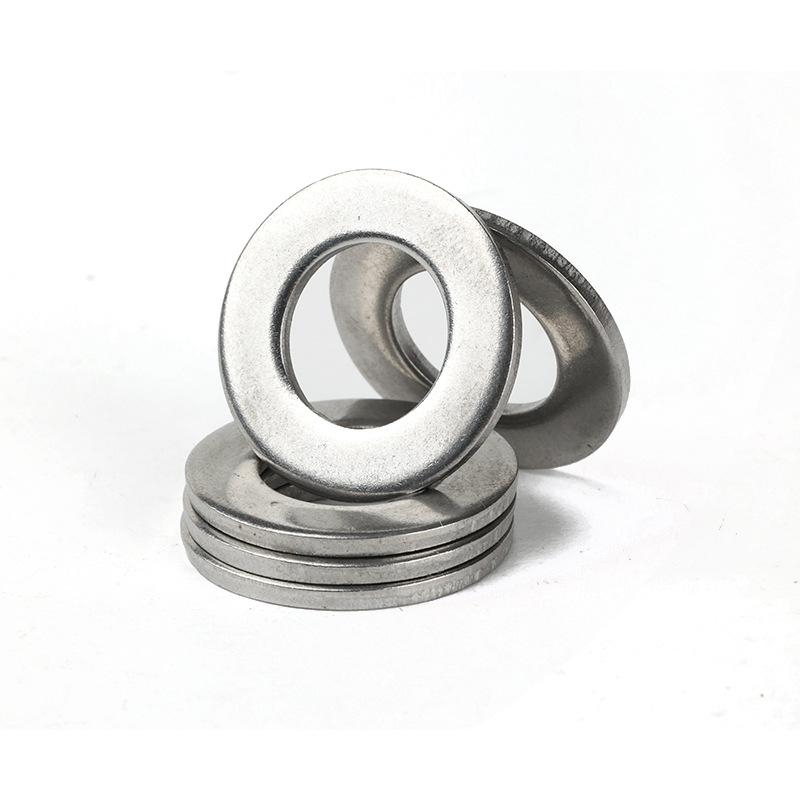
A reducing washer, also referred to as a reduction washer or a stepped washer, is a type of washer that has a central hole of one size and an outer diameter that accommodates another size. In this instance, we are looking to take a 3/4 inch washer and reduce its effective hole size to 1/2 inch.
Reducing washers are particularly useful in plumbing, automotive, and industrial applications where certain components may have mismatched sizes. They help facilitate proper fittings, prevent leaks, and ensure the secure attachment of components, which is essential for maintaining system integrity.
Why Reduce a Washer?
1. Compatibility Often, different systems or components will have varying dimensions due to design or compatibility issues. Reducing a washer allows for seamless integration of these components without the need for completely new parts.
2. Cost-Effective Rather than replacing entire assemblies with new components, using a reducing washer is a more economical solution. It saves money while still achieving the desired sealing and fitting.
3. Ease of Installation Reducing washers can simplify installation processes. By utilizing a washer that correctly fits both components, the risk of incorrect installation or the necessity for extensive modification is minimized.
reducing washer 3 4 to 1 2

Steps to Reduce a Washer from 3/4 to 1/2
1. Select the Right Material The first step in the reduction process is choosing the appropriate material for the washer. Options can vary, including rubber for better sealing, or metal for structural integrity. The choice largely depends on the application's requirements.
2. Determine Ideal Thickness The thickness of the washer is crucial when reducing its size. It should be thick enough to withstand pressure without deformation but thin enough to fit comfortably between the two components it is joining.
3. Using a Hole Saw or Punch If you're starting with a solid washer, you may need to use a wrench or drill to reduce the diameter of the central hole. A hole saw or a punch can create a new, smaller opening in the 3/4 inch washer, effectively making it a 1/2 inch.
4. Finish and Clean After resizing the washer, ensure all edges are smooth to prevent any damage to the components it interacts with. Cleaning the washer of any debris or dust will also create a better seal.
5. Testing the Fit Finally, install the modified washer on the connection it was designed for and check for proper fit and seal. It's vital to ensure that the connection is secure and leak-free before putting any system back into operation.
Conclusion
Reducing a washer from 3/4 inch to 1/2 inch is a practical and essential process in many engineering and plumbing contexts. By utilizing reducing washers, one can maintain seamless connections between components, ensuring efficiency and preventing unnecessary costs. With the right tools and understanding, this relatively simple adjustment opens up numerous possibilities for optimizing mechanical systems and ensuring long-lasting connections. Whether in a professional setting or DIY home projects, mastering the use of reducing washers can greatly enhance one's technical capabilities.
Latest news
-
Hot Dip Galvanized Bolts-About LongZe|High Strength, Corrosion Resistance
NewsJul.30,2025
-
High-Strength Hot Dip Galvanized Bolts - Hebei Longze | Corrosion Resistance, Customization
NewsJul.30,2025
-
Hot Dip Galvanized Bolts-Hebei Longze|Corrosion Resistance&High Strength
NewsJul.30,2025
-
High-Strength Hot-Dip Galvanized Bolts-Hebei Longze|Corrosion Resistance&High Strength
NewsJul.30,2025
-
Hot Dip Galvanized Bolts-Hebei Longze|Corrosion Resistance&High Strength
NewsJul.30,2025
-
Hot Dip Galvanized Bolts - Hebei Longze | Corrosion Resistance, High Strength
NewsJul.30,2025

