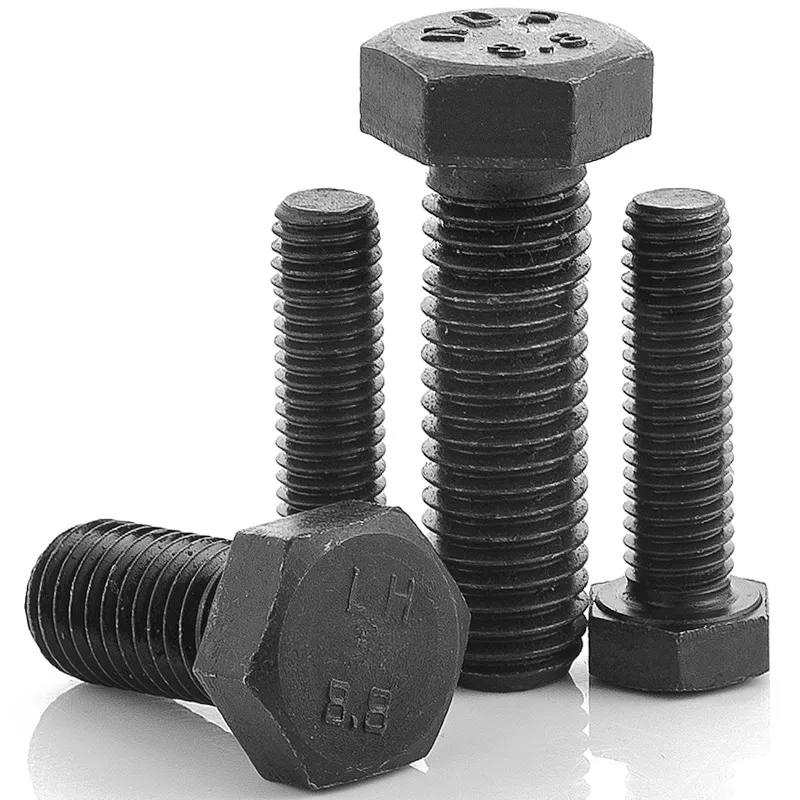

Drilling Self-Tapping Screws into Metal - Ultimate Guide
سبتمبر . 08, 2024 11:05 Back to list
Drilling Self-Tapping Screws into Metal - Ultimate Guide
Drilling Self-Tapping Screws into Metal A Comprehensive Guide
When it comes to fastening materials, self-tapping screws play an indispensable role, especially in metalwork. These screws are designed with a sharp point and thread that allow them to create their own hole as they are driven into various materials. Their application is particularly advantageous in metal due to their ability to forge a strong bond without the need for pre-drilled holes. This article delves into the best practices for drilling self-tapping screws into metal, ensuring a secure and reliable connection.
Understanding Self-Tapping Screws
Self-tapping screws are categorized primarily into two types cutting screws and forming screws. Cutting screws have sharp, chisel-like threads that cut through the metal, while forming screws displace the material rather than remove it, which can be beneficial in maintaining the integrity of thin sheets. The choice between these types largely depends on the thickness of the metal and the specific load requirements of your project.
Tools and Materials Required
Before beginning your project, ensure you have the right tools and materials at hand. These typically include
1. Self-Tapping Screws Select the appropriate size and type depending on your metal thickness (often, 8 to 14 sizes are used). 2. Power Drill An electric or cordless drill is essential for driving screws into metal. 3. Drill Bit A metal drill bit is advisable, especially if pre-drilling is required. 4. Lubricant Some may benefit from using cutting oil or lubricant to ease the driving process and reduce wear on both the screw and the drill. 5. Safety Gear Always wear safety glasses and gloves to protect against metal shavings and potential injury.
Step-by-Step Process
drilling self tapping screws into metal

1. Preparation Clean the area where the screw will be installed. Removing rust, dirt, or paint will ensure a better grip.
2. Marking the Spot Clearly mark the spot where you intend to drill the screw. Using a center punch can help create a small indentation that keeps the drill bit from slipping.
3. Drilling If the metal is particularly thick or hard, it’s wise to pre-drill a pilot hole slightly smaller than the diameter of the screw. This step can significantly ease the insertion of the self-tapping screw.
4. Screwing In Position the self-tapping screw on the marked point and align your power drill appropriately. Start at a low speed to keep the screw steady, gradually increasing speed as it penetrates the material. If you experience resistance, do not force it; instead, back off slightly and retry.
5. Finishing Touches Once fully driven, ensure that the screw is flush with the metal surface. If the screw is over-tightened, it may strip the threads or break, compromising the connection.
Conclusion
Drilling self-tapping screws into metal can seem daunting, but with the right approach and techniques, it becomes an efficient task. Understanding the characteristics of self-tapping screws is crucial in selecting the right type for your project. Always prioritize safety and take your time to ensure that every screw is properly installed for maximum strength and reliability. Mastering this skill opens up numerous possibilities in metalworking projects, from crafting furniture to constructing robust structures. With practice and patience, anyone can become proficient in utilizing self-tapping screws effectively.
Latest news
-
Hot Dip Galvanized Bolts-About LongZe|High Strength, Corrosion Resistance
NewsJul.30,2025
-
High-Strength Hot Dip Galvanized Bolts - Hebei Longze | Corrosion Resistance, Customization
NewsJul.30,2025
-
Hot Dip Galvanized Bolts-Hebei Longze|Corrosion Resistance&High Strength
NewsJul.30,2025
-
High-Strength Hot-Dip Galvanized Bolts-Hebei Longze|Corrosion Resistance&High Strength
NewsJul.30,2025
-
Hot Dip Galvanized Bolts-Hebei Longze|Corrosion Resistance&High Strength
NewsJul.30,2025
-
Hot Dip Galvanized Bolts - Hebei Longze | Corrosion Resistance, High Strength
NewsJul.30,2025

